Guide: How to wax your snowboard
Below you will find a step-by-step guide on how be faster than your friends this winter. It is of course tempting to get the board tuned at a shop, but it is not that difficult to do it yourself. In addition, it is way cheaper.
There’s tons of information out there of how to perfect the art of waxing snowboards, but in this guide we’ll show you who have never waxed before, so you can get started to tune boards yourself. A simple guide on how to wax your first snowboard.
How often should I wax my snowboard??
Some recommendation suggest that the board should be waxed every third day on the mountain. But it all depends on how picky you are and what type of base you have. There are two types of bases, Sintered and extruded base. A sintered base absorbs more wax and thus gets better speed. An extruded base is a relatively maintenance-free base but does not absorb as much wax as a sintered base. An extruded base is not as fast, but does not need to be waxed as often.
When you notice that your board is starting to ge slow on flat surfaces / cat tracks or if the base looks white and dry, it is probably time to wax it.
What do I need?
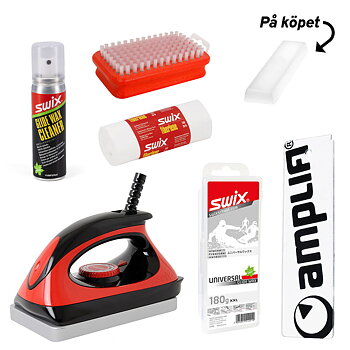
Iron
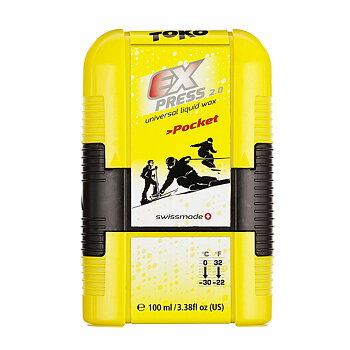
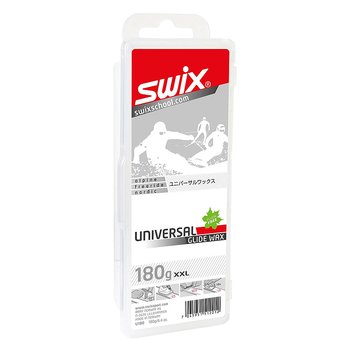
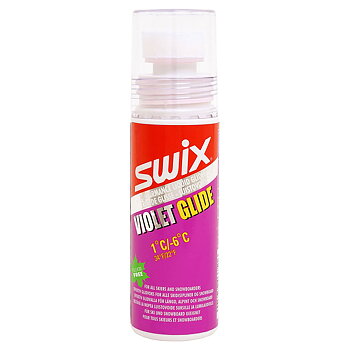
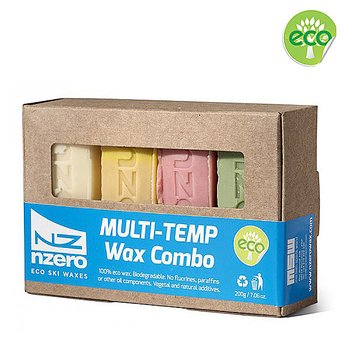
Wax
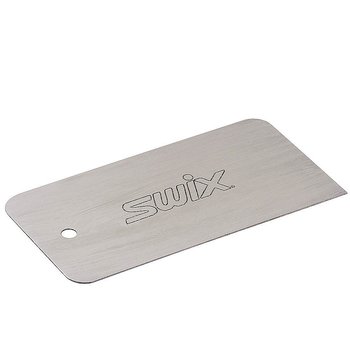
Base scraper (plastic)
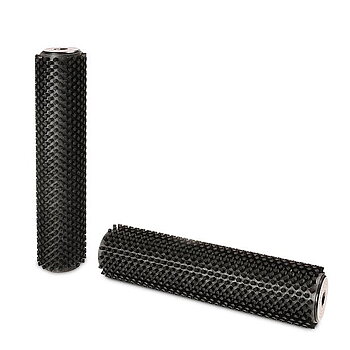
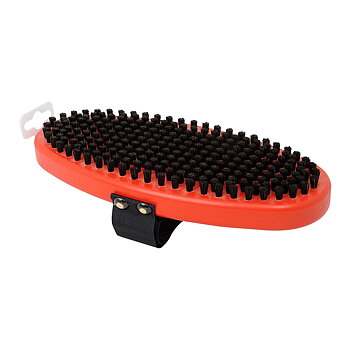
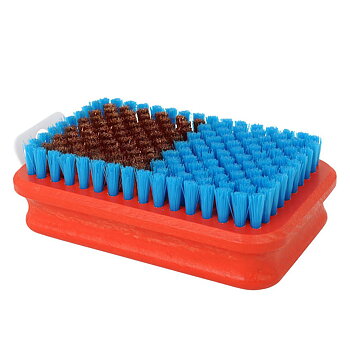
Brush
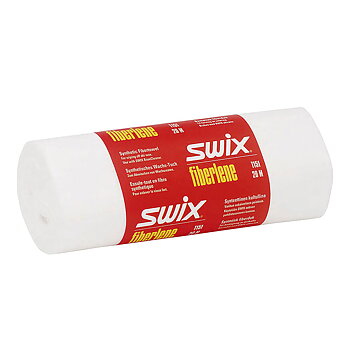
Cloth
Guide step by step:
1. Loosen the screws / remove the bindings
The first step you should do is loosen the screws for the bindings or remove the bindings completely. If you don’t, there is a risk that the base will bulge out and you will get a permanent damage to your base.
2. Clean the base
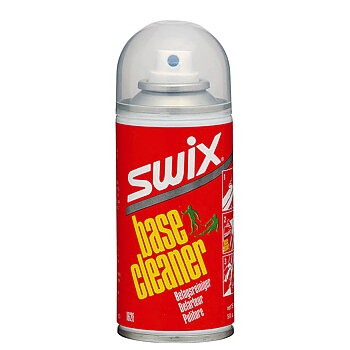
Before you start waxing, the base must be clean and free of old wax residue. If the base is dry, it is often sufficient to remove the dirt with a cloth. If there is old wax residue left, you can use cleaners like Wax Remover. There are also more environmentally friendly alternatives such as olive oil & soap or lemon juice and soap. You can also apply a thin layer of wax with the iron and then scrape it off while the wax is still warm.
3. Select the type of wax
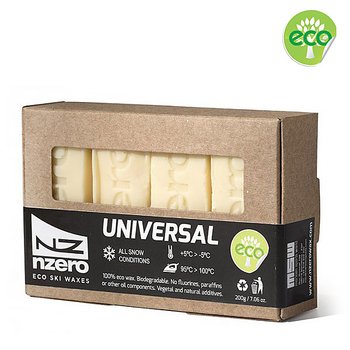
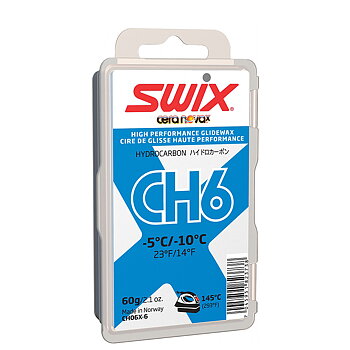
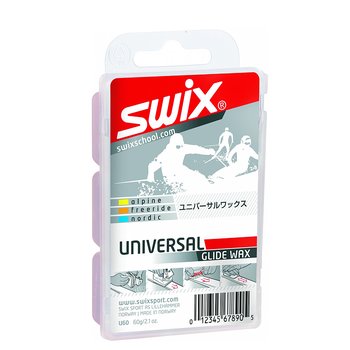
There are a plethora of different waxes to choose from. Many are temperature specific and are based on the temperature of the snow you are going to ride on. The intended snow temperature is often stated on the packaging. If you are unsure or are going to ride in varying temperatures, you can choose a universal wax. The universal was is not optimal but works fine in most conditions.
4. Melt the wax
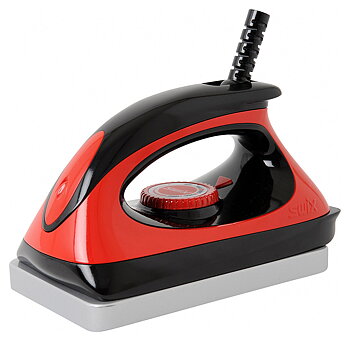
You can buy specific irons for waxing, but of course it works with a regular iron. However, be careful not to use it on your clothes afterwards. Set the iron to low to medium heat and then hold the wax against the iron and let it drip from the corner of the iron onto the base. If you see smoke, the iron is too hot. Lower the temperature until the wax melts but does not create smoke. Drizzle the wax along the steel edge around the entire board and then make a zigzag pattern over the entire surface. Be extra careful around the edges as they’re usually really dry. Make sure to get the wax evenly distributed over the entire base.
5. Iron the base
Place the iron against the base and make circulating movements to spread the wax evenly over the entire board. Be sure to keep the iron moving at all times to not permanently damage the base.
6. Let the wax cool
Let the wax cool for 20-30 minutes or until the base is cold. You can also wait until the next day if you are not in a hurry.
7. Scrape the base
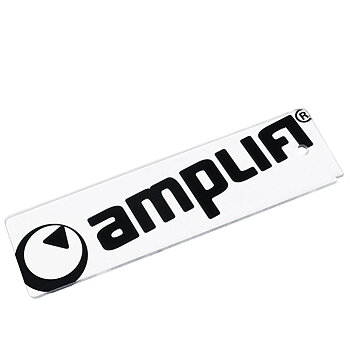
When the wax has cooled, it's time to scape off the excess wax. Hold the plastic scraper against the base at an angle of about 45 degrees and scrape off the excess wax with long strokes along the base. Repeat the movement about ten times. This step is very important to get a smooth and speedy base.
8. Check your edges
Scrape off the wax that sat on the steel edges. There is usually a notch in the corner of the scraper to scrape away excess wax on the steel edges.
9. Structure the base
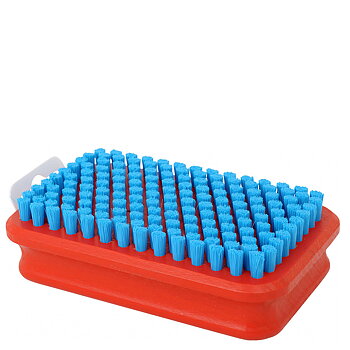
Use a brush and make even movements from nose to tail over the entire base. This removes excess wax and makes the base even. This step can be skipped if you’re not that picky about speed.
10. Done
Mount the bindings and go snowboard with your friends!
Tip: Wax the board before you store your snowboard after the season. It protects the base during the summer and extends the life of the board.